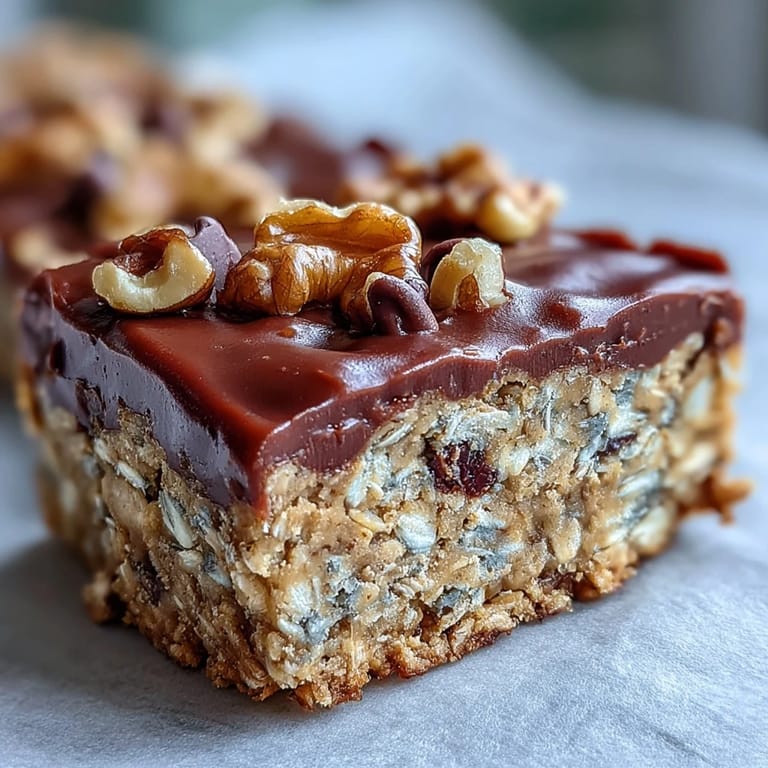
 Save to Pinterest
 My yoga instructor swears by these bars, and one Tuesday morning she showed up with a container of them, still slightly warm from her kitchen. One bite and I understood the obsession—they tasted like someone had liquified the best banana split ever made, then somehow convinced it to become portable and guilt-free. I pestered her for the recipe that same day, and what she handed me was the beginning of my favorite grab-and-go breakfast discovery.
I made a double batch for my partner's camping trip, expecting them to disappear within days. Instead, they came back with stories about these bars being the unexpected hero of the whole adventure—more beloved than the instant coffee, more reliable than the tent stakes. Apparently, something about biting into one while sitting by a lake at sunrise just hits different.
Ingredients
- Ripe bananas (2 large, mashed): The sweeter and spottier, the better—use ones that would normally make you cringe when you see them in the fruit bowl.
- Unsweetened applesauce (1/3 cup): This keeps the bars moist and tender without adding refined sugar or weighing them down.
- Honey or maple syrup (1/4 cup): Pick whichever one you have open in your pantry; they behave similarly and bring subtle flavor differences.
- Unsweetened almond milk (1/4 cup): Any plant-based milk works here, though almond keeps the flavor profile clean and lets the banana shine.
- Natural peanut butter (1/4 cup): The kind with just one ingredient listed—no emulsifiers, no secrets, just ground peanuts doing their job beautifully.
- Vanilla extract (1 tsp): A small amount that whispers rather than shouts, brightening everything without announcing itself.
- Old-fashioned rolled oats (2 cups): These create a chewy, substantial texture that makes the bars feel like actual food, not just a protein vehicle.
- Vanilla or chocolate protein powder (1/2 cup): Choose based on your mood; vanilla stays neutral while chocolate doubles down on the indulgence.
- Chopped walnuts (1/4 cup): They add a gentle crunch and earthiness that balances the sweetness perfectly.
- Dark chocolate chips (1/4 cup): These aren't negotiable—they're little pockets of joy distributed throughout every bite.
- Salt (1/4 tsp): A pinch that makes everything taste more like itself, especially the chocolate and bananas.
- Ground cinnamon (1/2 tsp): Warming and slightly spiced, it creates depth without changing what these bars actually are.
- Baking powder (1 tsp): Just enough lift to make them feel airy and light rather than dense and bar-like.
Tired of Takeout? 🥡
Get 10 meals you can make faster than delivery arrives. Seriously.
One email. No spam. Unsubscribe anytime.
Instructions
- Prepare your stage:
- Preheat the oven to 350°F and line an 8x8-inch pan with parchment paper, letting the edges hang over slightly so you can lift the whole thing out later. This small detail saves you from the frustration of trying to extract warm bars from a sticky pan.
- Combine the wet ingredients:
- In a large bowl, mash the bananas until they're mostly smooth—a few small lumps are fine and actually add character. Stir in the applesauce, honey, almond milk, peanut butter, and vanilla until you have a cohesive, creamy mixture without any streaks of unmixed peanut butter.
- Whisk together the dry ingredients:
- In another bowl, mix the oats, protein powder, walnuts, chocolate chips, salt, cinnamon, and baking powder until everything is evenly distributed. This prevents clumps of protein powder from appearing in random bites.
- Marry the two mixtures:
- Pour the dry ingredients into the wet ingredients and fold everything together gently until just combined—overworking this will make the bars tough and chewy in the wrong way. You're looking for a shaggy, unified mixture where no flour pockets remain.
- Spread and bake:
- Transfer the mixture to your prepared pan and press it down evenly with a spatula until it fills all corners and sits relatively level. Bake for 22 to 25 minutes, watching until the edges turn golden brown and a toothpick inserted in the center comes out clean or with just a few moist crumbs clinging to it.
- Cool with patience:
- Let the bars cool completely in the pan—this takes about 30 minutes and feels eternal when you can smell them, but it's essential for them to set up properly. Once cool, lift the whole batch out using the parchment paper overhang and slice into 12 pieces.
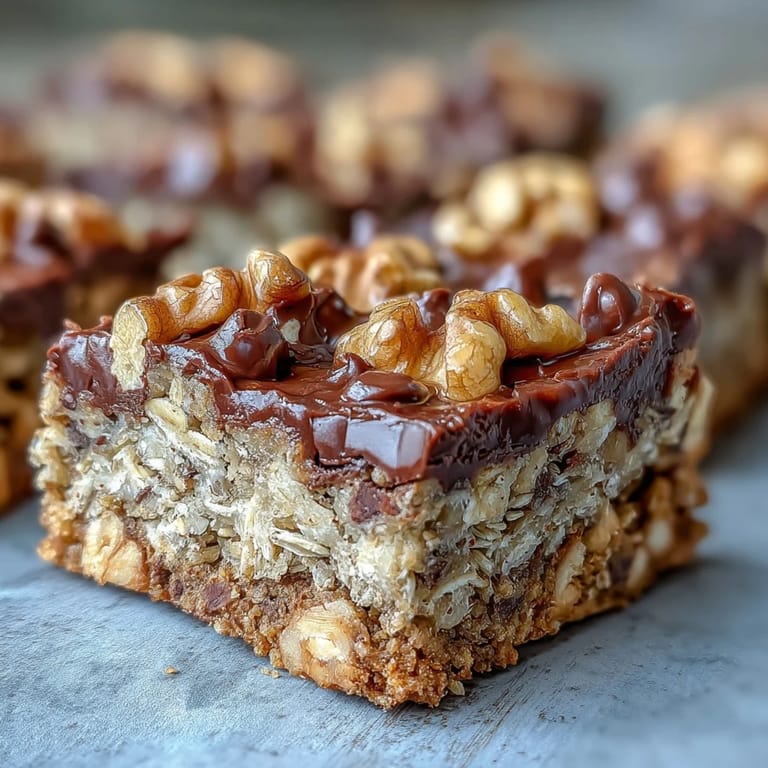
 Save to Pinterest
 What surprised me most was watching my picky-eating nephew demolish three bars at a family gathering without realizing they were "healthy." For a brief, shining moment, his nutritionist mom and I locked eyes across the room in pure triumph. Sometimes the best victories in the kitchen are the quiet ones, when nobody's thinking about what they're eating because it's just that good.
Storage and Keep
These bars live longest in an airtight container at room temperature for three days, though honestly they rarely last that long in any kitchen I know. If you want to extend their life, refrigerate them for up to a week, or freeze individual bars wrapped in plastic wrap for up to a month—pull one out the night before and let it come to room temperature, or eat it slightly chilled straight from the freezer on a particularly chaotic morning.
Making Them Your Own
The beauty of this recipe is that it's a template rather than a strict rulebook. I've made versions with pecans instead of walnuts, white chocolate chips mixed with dark ones, and even a batch where I added a tablespoon of instant espresso powder to the dry ingredients. The framework stays solid while everything else becomes negotiable based on what's in your pantry or what your current craving demands.
Why These Bars Became My Default Answer
When someone asks me what I bring to potlucks or what I make when I need something that feels indulgent but doesn't require an apology, this is it. They bridge the gap between "I deserve something that tastes good" and "I'd like to feel energized afterward," which is honestly a hard space to occupy in the snacking world. They're the answer to the question nobody asks out loud but everyone thinks about: can healthy food actually taste like a reward?
- Make these on Sunday evening and you've solved breakfast negotiations for nearly the entire week.
- Double the batch if you're feeding more than one person—they disappear faster than you'd predict.
- If the top seems to be browning too quickly, cover the pan loosely with foil for the final few minutes of baking.
 Save to Pinterest
 These bars have become my answer to almost everything—the thing I bring when I want to show up thoughtfully, the thing I reach for when I need a real breakfast, the thing I bake when the kitchen needs to smell like home. Once you've made them, you'll understand why.
Recipe FAQs
- → Can I make these bars vegan?
Yes, use maple syrup instead of honey, choose vegan protein powder, and opt for dairy-free chocolate chips. The rest of the ingredients are naturally plant-based.
- → How should I store these protein bars?
Keep in an airtight container at room temperature for 3 days, or refrigerate for up to 1 week. They also freeze well for up to 3 months if wrapped individually.
- → Can I substitute the protein powder?
You can use vanilla or chocolate whey, casein, or plant-based protein powder. If omitting entirely, increase oats by 1/4 cup and add 2 tablespoons of nut butter.
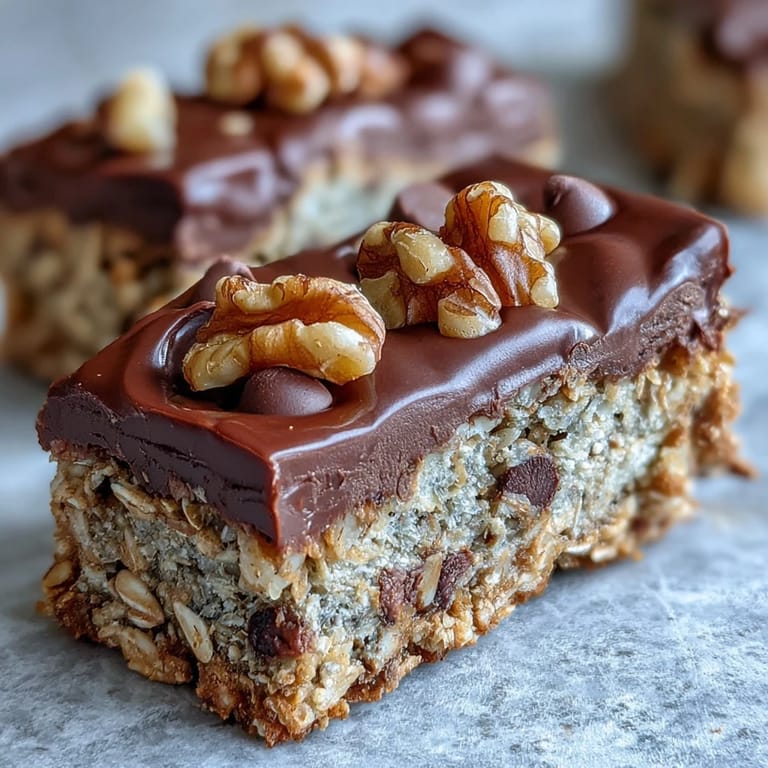
- → What makes these bars Chunky Monkey inspired?
The combination of mashed bananas, walnuts, and dark chocolate chips mirrors the classic ice cream flavor profile, while adding protein powder makes them more filling.
- → Can I reduce the sugar content?
These bars rely on naturally sweet bananas for much of their sweetness. You can reduce the honey or maple syrup to 2 tablespoons, though the bars may be less tender.