 Save to Pinterest
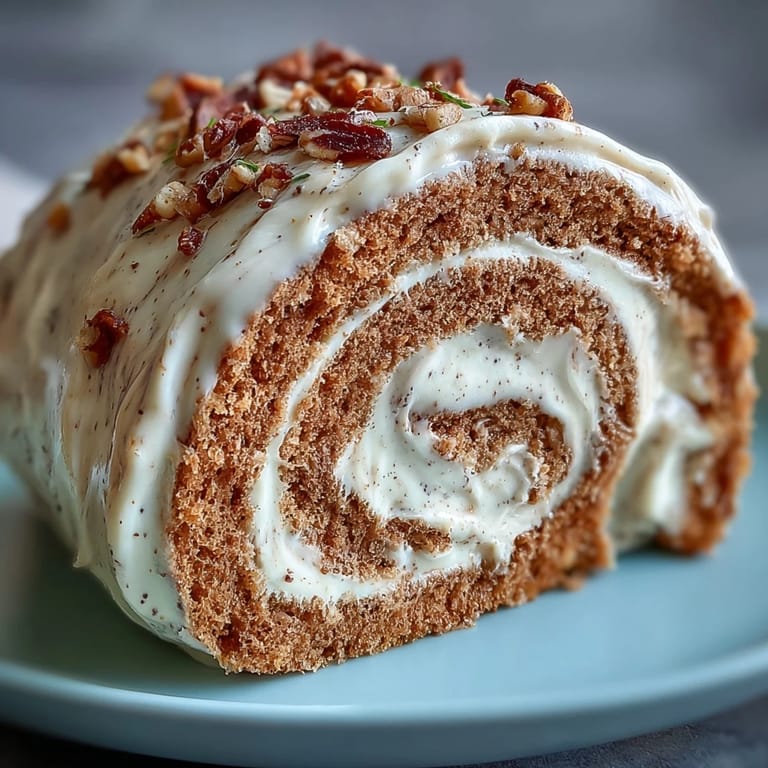
 There's something almost meditative about the moment a hojicha roll cake emerges from the oven—that gentle, toasted tea aroma rising with the steam feels like a small gift to yourself. I discovered this particular combination while browsing through a Japanese pastry shop's Instagram, mesmerized by the spiral cross-section, and decided the fragrant earthiness of hojicha paired with bright mango was worth attempting in my own kitchen. What started as an ambitious weekend project became the dessert I reach for whenever I want something that tastes elegant but doesn't require years of professional training. The roll itself teaches you something important about patience and precision, but in the most forgiving way possible.
I'll never forget serving this to my partner on an unexpectedly difficult evening—nothing dramatic, just one of those days where everything felt a bit flat. Watching them take that first bite and pause, genuinely surprised by how light and flavorful it was, reminded me why I love cooking for people. That simple moment of happiness shifted the whole evening's energy.
Ingredients
- Eggs (4 large, separated): Room temperature eggs whip up faster and create a more stable meringue, so pull them out of the fridge about thirty minutes before you start.
- Granulated sugar (80 g, divided): Splitting this between the yolks and whites ensures both mixtures reach peak texture without one becoming grainy.
- Whole milk (60 ml): Use full-fat milk if you have it—it contributes subtle richness that really matters in something this delicate.
- Vegetable oil (50 ml): This keeps the sponge moist longer than butter would, which is crucial since you're rolling it while warm.
- Cake flour (70 g, sifted): Don't skip the sifting step; it aerates the flour and prevents dense pockets from forming in your final cake.
- Cornstarch (10 g): This reduces the gluten network slightly, making the sponge tender enough to roll without cracking.
- Hojicha powder (1 tbsp in sponge, 2 tsp in cream): Source this from a reputable Japanese grocer or online—quality hojicha powder makes a noticeable difference in depth of flavor.
- Salt (1/4 tsp): This tiny amount amplifies the tea's toasted notes without making anything taste salty.
- Heavy cream (200 ml, minimum 35% fat, chilled): Cold cream whips to stiff peaks more reliably; warm cream becomes grainy butter.
- Powdered sugar (2 tbsp): This dissolves smoothly into cream, whereas granulated sugar might create a gritty texture.
- Ripe mango (1, optional): Choose one that yields slightly to pressure; under-ripe mango is mealy and over-ripe becomes mushy against the cream.
Tired of Takeout? 🥡
Get 10 meals you can make faster than delivery arrives. Seriously.
One email. No spam. Unsubscribe anytime.
Instructions
- Prepare your mise en place:
- Preheat your oven to 170°C (340°F) and line a 23 x 33 cm baking tray with parchment paper, making sure the corners are smooth so the finished cake doesn't tear. Separate your eggs carefully—even a tiny speck of yolk will prevent the whites from whipping properly, so take a breath and do this one at a time if you're unsure.
- Create the yolk base:
- Whisk your egg yolks with 40 g of sugar until the mixture turns pale yellow and ribbons form when you lift the whisk—this usually takes about two minutes. Add the milk and vegetable oil, stirring gently until everything is smooth and emulsified.
- Fold in the dry ingredients:
- Sift your cake flour, cornstarch, hojicha powder, and salt together to ensure the tea powder distributes evenly and won't clump. Gently fold this into the yolk mixture with a spatula, using an under-and-over motion rather than stirring in circles—you want to combine without deflating.
- Whip those egg whites:
- In a scrupulously clean bowl, beat the egg whites until they're foamy, then add the remaining 40 g of sugar gradually while continuing to beat until stiff, glossy peaks form. This takes about five minutes with an electric mixer, so be patient and don't rush.
- Fold together gently:
- Add the meringue to the yolk mixture in three additions, folding gently each time—this prevents you from deflating all that air you just worked to incorporate. The batter should look light and fluffy, never dense or heavy.
- Bake with care:
- Pour the batter into your prepared tray and smooth the surface with an offset spatula, then tap the tray gently against the counter three or four times to release any large air bubbles. Bake for 13 to 15 minutes, until the cake springs back when you press it gently—you're looking for set but still tender, not golden or firm.
- Invert while warm:
- Remove the cake from the oven and immediately invert it onto a fresh sheet of parchment paper, peeling away the baking parchment carefully. The warmth makes this easier and prevents sticking; drape a clean kitchen towel loosely over the top and let it cool completely at room temperature.
- Whip the hojicha cream:
- Once your sponge is completely cool, pour chilled heavy cream into a bowl with powdered sugar and hojicha powder, then whip to medium-stiff peaks—if you go too far, it becomes grainy butter, so watch carefully as you near the end.
- Assemble with intention:
- Spread the hojicha cream evenly across the cooled sponge, leaving a small border at the edges, then arrange your mango strips along one short edge in a single line. This creates a visual guide for rolling and prevents the filling from squishing out the sides.
- Roll and chill:
- Using the parchment underneath, gently roll the cake from the edge with mango, keeping it as tight as possible without tearing the sponge. Wrap the rolled cake in fresh parchment and refrigerate for at least thirty minutes so the structure sets properly.
- Finish and serve:
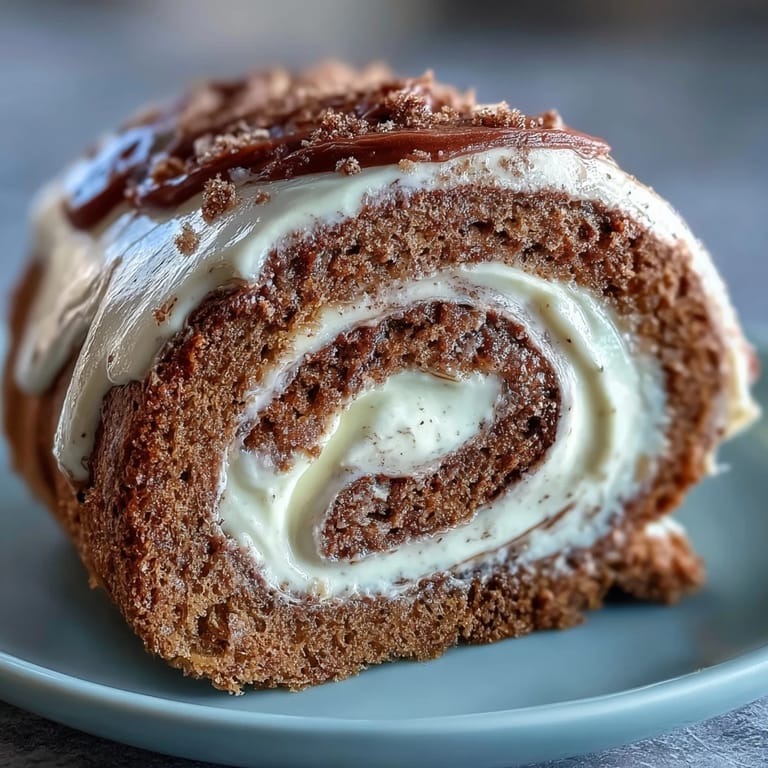
- Once chilled, trim the ends with a sharp, warm knife (heat it under hot water and wipe dry) to reveal the beautiful spiral inside. Slice and serve with an extra dusting of hojicha powder or powdered sugar if you'd like.
 Save to Pinterest
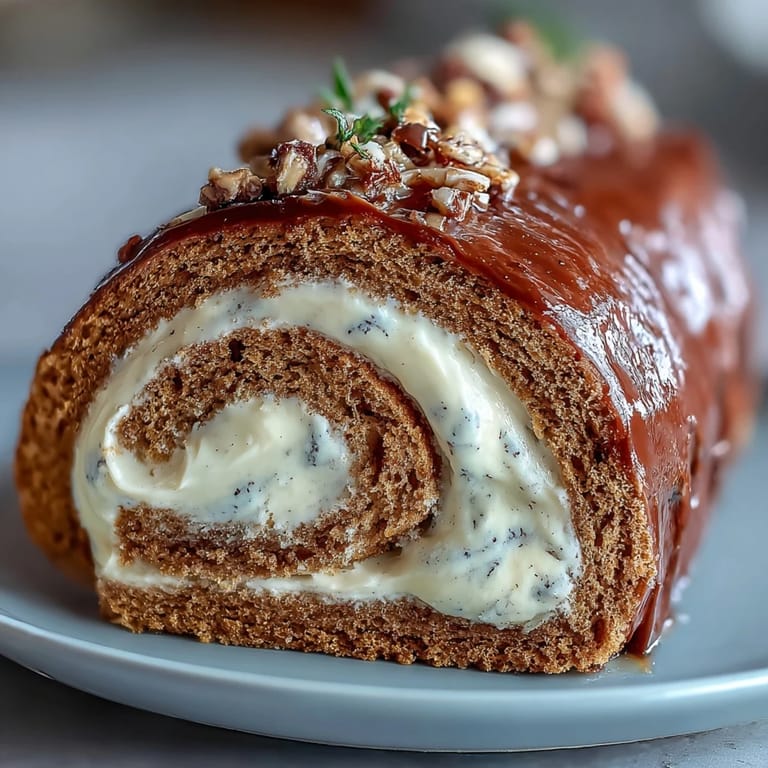
 There's a particular satisfaction that comes from slicing into a roll cake and seeing that perfect spiral you created with your own hands. This dessert reminds me that some of the most impressive-looking things are actually within reach if you follow the steps and trust the process.
Understanding the Sponge Technique
The sponge base is technically a chiffon-style cake, which means it relies on whipped egg whites for lift rather than chemical leaveners. This creates an incredibly tender, almost cloud-like crumb that can handle the rolling process without shattering. The magic happens in the folding—you're trying to preserve as much air as possible while incorporating flour and hojicha powder evenly. I learned this the hard way after over-folding my first attempt and ending up with a dense, flat cake that refused to cooperate during rolling. Now I fold in three additions rather than one large addition, and the difference is noticeable.
Hojicha and Its Flavor Profile
Hojicha is roasted green tea, and that roasting process transforms bright, grassy tea notes into something deeper, nuttier, and less bitter. Unlike regular matcha, which can be quite vibrant and sometimes astringent if you're unfamiliar with it, hojicha feels approachable and sophisticated simultaneously. The powder dissolves beautifully into cream and batter without creating lumps or off-flavors. I started using hojicha specifically because I wanted something that felt Japanese but wouldn't intimidate people who'd never had it before, and this dessert proves that hojicha is one of those ingredients that makes people curious about trying more Japanese flavors.
Fruit Swaps and Flavor Combinations
While mango provides a bright, tropical counterpoint to the earthy hojicha, you can absolutely adjust based on what looks fresh at your market. Strawberries offer tartness that cuts through the richness of the cream, peaches bring a subtle stone fruit sweetness, and raspberries add a jammy intensity if you crush them slightly before arranging them. I've even made a version without any fruit filling, just adding an extra teaspoon of hojicha to the cream for a deeper tea flavor—it's wonderful if you want to keep the focus entirely on the sponge and hojicha rather than competing with fruit.
- Choose fruit that's ripe but still firm so it doesn't release too much liquid into the cream.
- Slice your fruit just before assembly to prevent oxidation and browning.
- If using berries, arrange them gently so they don't crush under the pressure of rolling.
 Save to Pinterest
 This cake feels like the kind of dessert you'd serve to guests you genuinely want to impress, yet it's absolutely manageable for a beginner or intermediate baker willing to slow down and pay attention. Once you nail this roll, you'll find yourself making it repeatedly, each time adding your own small touches or switching out the fruit to match the season.
Recipe FAQs
- → What does hojicha taste like?
Hojicha has a distinct earthy, nutty flavor with roasted notes. It's less bitter than regular green tea and has a warm, toasty character that pairs beautifully with sweet cream and fresh fruit.
- → Can I make this roll cake ahead of time?
Yes, you can prepare the hojicha roll cake up to 24 hours in advance. Wrap it tightly in parchment paper and refrigerate. The flavors actually develop better after chilling for a few hours.
- → What fruits work well in this roll?
While mango is traditional and provides excellent color contrast, you can use fresh strawberries, sliced peaches, or even thinly sliced persimmons. Each fruit brings its own sweetness to complement the earthy hojicha.
- → Why did my sponge crack when rolling?
Cracking usually happens when the sponge cools completely before rolling or if it's overbaked. Roll while still slightly warm, and don't worry about small cracks—they'll be hidden by the cream filling on the inside.
- → Can I use regular matcha instead of hojicha?
You can substitute matcha powder, though the flavor will be more grassy and bitter rather than nutty and roasted. Consider reducing the amount slightly as matcha can be more intense than hojicha.
- → How do I store leftover roll cake?
Store any remaining portions in an airtight container in the refrigerator for up to 3 days. The sponge may absorb some moisture from the cream over time, so it's best enjoyed within the first day or two.