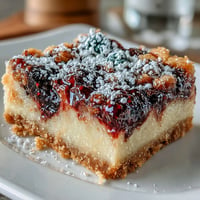
 Save to Pinterest
 Last February, my neighbor showed up with a box of king cake from New Orleans, and I couldn't stop thinking about those jewel-toned swirls and that creamy center. The next morning, I was determined to capture that same magic in bar form, but with cheesecake instead of the traditional yeast cake. What started as an experiment in my kitchen turned into something I've made for every celebration since, and honestly, it's become the thing people ask for before they even ask what I'm baking.
I'll never forget pulling these out of the oven for my daughter's graduation party and watching everyone stop mid-conversation to look at the colors. One guest actually gasped, which felt like the highest compliment. That's when I realized these bars weren't just about taste but about creating a moment that felt celebratory before anyone even took a bite.
Ingredients
- Graham cracker crumbs: The foundation that gives you that sweet, sandy texture—buy pre-crushed if you want to skip a step, but crushing them yourself only takes a minute and they stay fresher.
- Ground cinnamon: This ties the whole thing back to traditional king cake flavors, and that warm spice in the crust is what makes people ask what's different about these cheesecake bars.
- Unsalted butter, melted: Warm butter binds everything together and helps the crust bake evenly without any overly browned edges.
- Cream cheese, softened: This is non-negotiable—let it sit on your counter for 30 minutes before you start, or you'll fight lumps the entire time you're mixing.
- Sour cream: Just a third of a cup keeps the cheesecake tangy and rich without making it too heavy or dense.
- Gel food coloring in purple, green, and gold: Gel colorings are the secret here because liquid ones will water down your batter and ruin those beautiful swirls, trust me on this one.
- Powdered sugar for icing: A simple drizzle of icing is all you need once the bars are chilled, but it adds that polished finishing touch.
- Sanding sugar in celebration colors: This is purely for sparkle and visual impact, and it's worth having on hand because it makes the bars feel special.
Tired of Takeout? 🥡
Get 10 meals you can make faster than delivery arrives. Seriously.
One email. No spam. Unsubscribe anytime.
Instructions
- Prepare your pan and preheat:
- Line a 9x9-inch baking pan with parchment paper, leaving some overhang so you can lift the whole thing out later without wrestling it. Set your oven to 325°F because cheesecake loves low and slow heat.
- Make the crust:
- Mix graham cracker crumbs with sugar, cinnamon, and salt, then pour in melted butter and stir until it feels like wet sand. Press it firmly into the bottom of your pan, and bake for 10 minutes until it's set but not brown—this pre-bake prevents a soggy bottom layer.
- Beat the cheesecake base:
- Cream together softened cream cheese and sugar for about 2 minutes until it's light and fluffy, which usually takes longer than you think it will. Add eggs one at a time, beating gently after each one, then fold in sour cream, flour, vanilla, and almond extract until just combined.
- Divide and color:
- Split your batter into three bowls and add a tiny drop of gel coloring to each—gel is concentrated, so start small and add more if you need it. Stir each batch gently until the color is even, and if you see streaks, that's actually fine because they'll blend when you swirl.
- Create the swirl:
- Drop spoonfuls of each colored batter randomly over the cooled crust, alternating colors as you go. Take a knife or skewer and drag it through the colors in one direction, then the other, creating that marbled effect—the less you do this, the prettier it looks, so resist the urge to over-swirl.
- Bake until set:
- Slide the pan into the oven for 35 to 40 minutes—you're looking for the center to jiggle slightly when you gently shake the pan, not for it to be completely firm. The carryover heat will set it perfectly as it cools.
- Chill and finish:
- Let it cool to room temperature, then refrigerate for at least 4 hours or overnight because cold cheesecake is infinitely better than room temperature. Make a simple icing by whisking powdered sugar with a splash of milk and vanilla, drizzle it over the chilled bars, sprinkle with sanding sugar, and slice into 16 pieces.
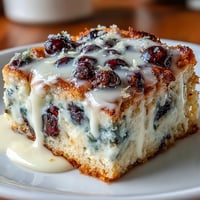
 Save to Pinterest
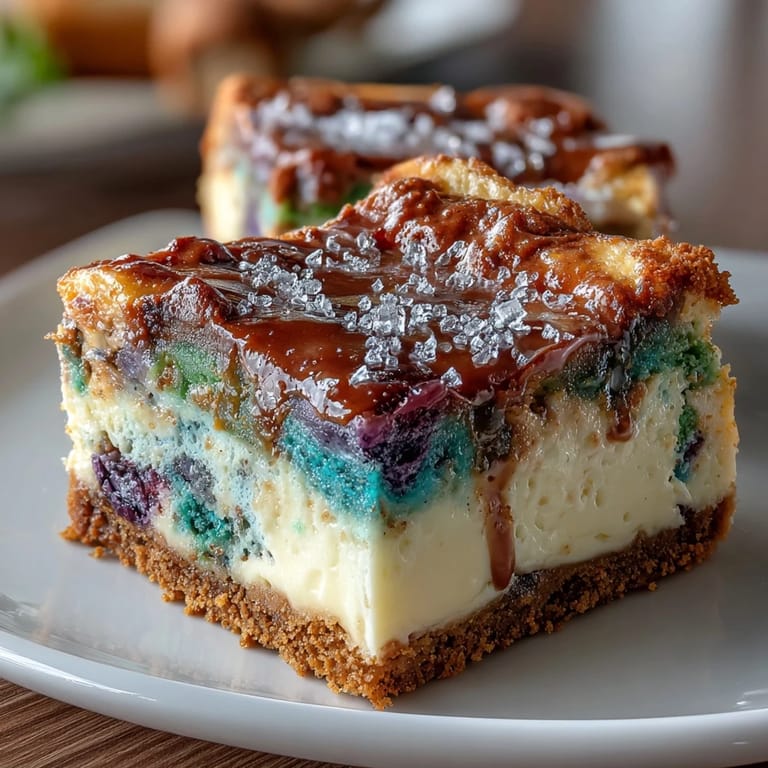
 There's something magical about the moment when someone cuts into one of these bars and the three colors appear in the cross-section, and they realize the colors run all the way through. It transforms a simple dessert into a conversation starter and a reason to celebrate, even if you're just celebrating a Wednesday.
Timing and Make-Ahead Magic
One of my favorite things about these bars is that they're actually better when made ahead—the flavors deepen and the texture sets perfectly after a night in the fridge. You can bake them up to three days before serving, which means you're not stressed the day of your event, and you can focus on everything else you're hosting.
Playing with Flavors and Colors
Once you master the basic recipe, you can experiment with different extracts or even add a tiny bit of food-safe shimmer dust to the icing for extra sparkle. Some years I add a drop of lemon extract to brighten everything up, and other times I keep it classic, but the beautiful thing is that the cheesecake base is neutral enough to support whatever direction you want to take it.
The Real Party Trick
These bars look like you spent hours perfecting them, but the actual hands-on time is surprisingly short because most of the work is in the oven. They photograph beautifully, which means they're perfect for sharing on social media if that's your thing, but more importantly, they're the kind of dessert that makes people feel celebrated.
- If you want to add an authentic Mardi Gras twist, hide a small plastic baby in one bar after it's chilled and warn your guests before they bite in.
- These bars freeze beautifully if wrapped well, so you can make them a month ahead and just thaw them in the fridge the day before you need them.
- Invest in gel food coloring and keep it in your pantry because you'll find yourself reaching for it constantly once you see how vibrant these bars turn out.
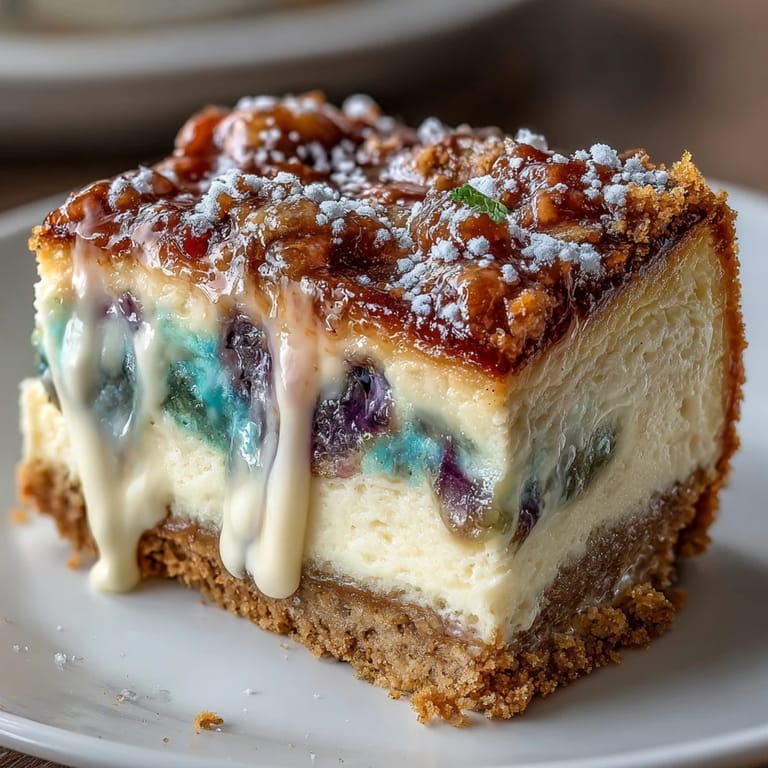
 Save to Pinterest
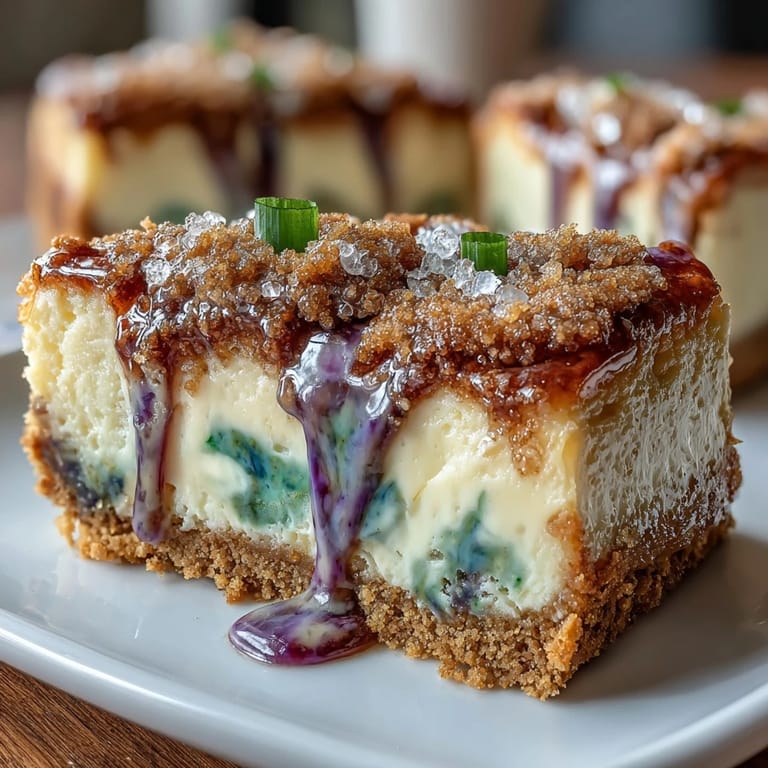
 These king cake cheesecake bars have become my go-to for any celebration, and I love watching people's faces light up when they see those colors. They're proof that good desserts don't have to be complicated, just thoughtfully made with a little celebration in mind.
Recipe FAQs
- → What gives the bars their vibrant swirl colors?
Gel food coloring in purple, green, and gold tones is used to tint the cheesecake batter, creating the colorful swirls without affecting texture.
- → Can I substitute the graham cracker crust?
Yes, vanilla wafers or digestive biscuits can replace graham crackers for a slightly different flavor and texture.
- → How should I prepare the bars for the best texture?
Bake the crust first, then add the swirled cheesecake batter and bake until the center is just set but still slightly wobbly. Chill thoroughly before icing.
- → Is almond extract necessary in the cheesecake layer?
Almond extract is optional. It adds a subtle nutty note but can be omitted for allergies or preference.
- → What is the best way to create the marbled swirl effect?
Drop spoonfuls of each colored batter randomly over the crust and gently swirl with a knife or skewer without overmixing to maintain distinct colors.