 Save to Pinterest
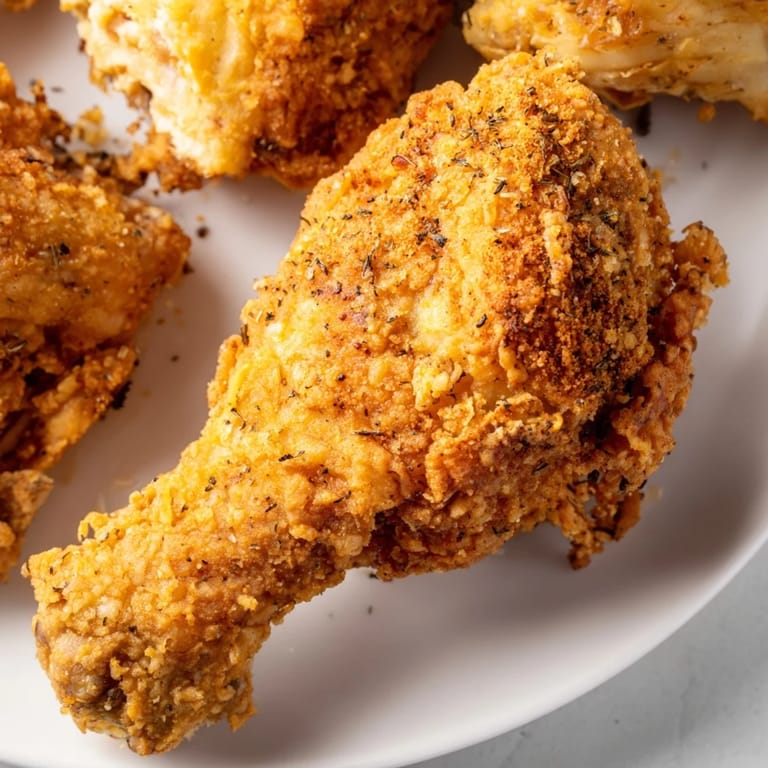
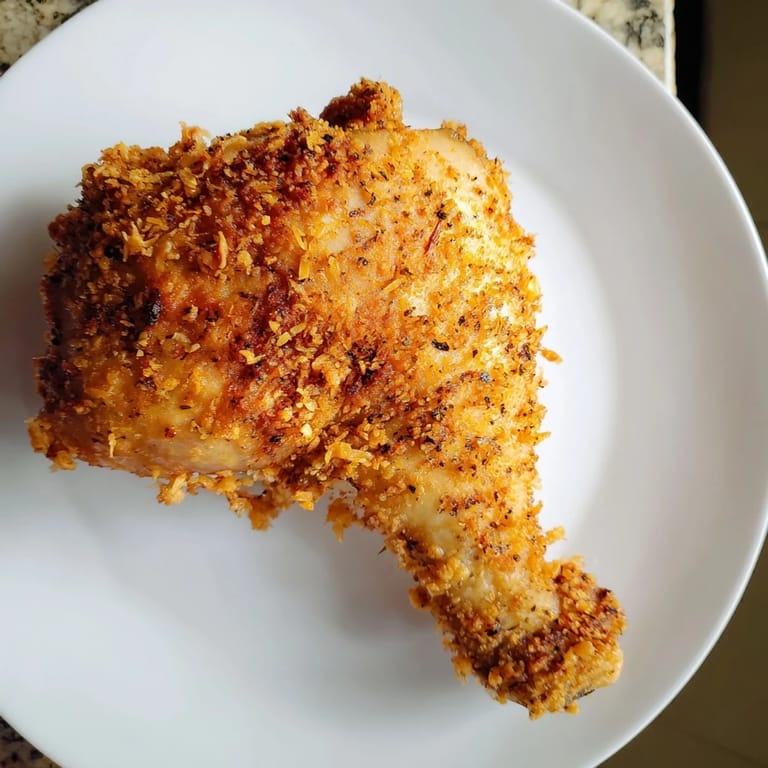
 There's a moment that happens every time I make this chicken—right when that golden crust hits the hot oil and sizzles alive—where I remember why this recipe became my go-to. Years ago, I was trying to recreate that impossible KFC magic at home, the kind where the coating shatters between your teeth and stays juicy inside. After countless batches and way too many spice jars cluttering my cabinet, I finally figured out the layering that makes it work: paprika for color, the warm notes of sage and thyme, a whisper of ginger that catches you by surprise. This isn't just fried chicken; it's the chicken that made my friends stop talking mid-bite.
I learned the real power of this recipe during a potluck where I brought these drumsticks in an old tupperware container. By the time I pulled it out of the cooler, the whole table had already smelled them and half the guests abandoned the salad station. One person literally said, 'Is this from a restaurant?' and I got to say no, just my kitchen, which felt like winning something important. That moment taught me that good food isn't about fancy techniques or expensive gear—it's about understanding the small things that actually matter.
Ingredients
- Chicken (8 pieces, skin-on, bone-in): The skin holds onto the spice blend and crisps up beautifully while the bone keeps the meat tender—don't skip this part even if boneless feels easier.
- Buttermilk (250 ml): This does the heavy lifting by tenderizing the chicken and helping the coating stick; regular milk won't give you the same tanginess and adherence.
- All-purpose flour (200 g): The foundation that becomes golden and crispy; measure by weight if you can because scooping often packs it too tight.
- Paprika (2 tsp): More than just color, it adds a subtle sweetness that balances the savory spices and gives that authentic fried-chicken hue.
- Garlic powder, onion powder (1 tsp each): These bring depth without the texture of fresh minced versions, which would burn during frying.
- Dried thyme, basil, oregano (1 tsp each): The herb blend that whispers 'restaurant-quality'—dried herbs concentrate flavor in ways fresh ones can't match at frying temperatures.
- Celery salt, white pepper, black pepper (1/2 tsp each): The white pepper adds complexity without the visible black specks, while celery salt rounds out the savory profile.
- Mustard powder, ginger, cayenne, sage (1/2 tsp each): These are the secret players that make people pause mid-bite and wonder what they're tasting; don't skip them even though they're subtle.
- Salt (1 tsp): Distributed between marinade and flour blend for balanced seasoning throughout, not just on the surface.
- Vegetable oil (1 liter): Choose something neutral that can handle 170°C without smoking; I prefer a mix of vegetable and a splash of peanut oil for that deep-fried chicken texture.
Tired of Takeout? 🥡
Get 10 meals you can make faster than delivery arrives. Seriously.
One email. No spam. Unsubscribe anytime.
Instructions
- Start with the buttermilk soak:
- Whisk together buttermilk, salt, and black pepper in a large bowl, then submerge your chicken pieces completely and cover. I usually do this in the morning for evening frying, but even an hour makes a noticeable difference—the longer it sits, the more tender everything becomes.
- Build your spice blend:
- Combine all the flour and spices in a separate bowl and mix thoroughly with a whisk or fork, breaking up any clumps so the seasoning distributes evenly. This is the moment where the magic actually lives, so don't rush it or use a shaker—you want everything uniformly distributed.
- Coat and rest:
- Pull chicken pieces from the marinade one at a time, let excess drip back into the bowl, then roll each piece in your spice flour, pressing gently so the coating adheres. Set them on a wire rack for about 10 minutes—this resting time helps the flour stick properly so it doesn't just fall off in the oil.
- Get the oil ready:
- Heat your oil to exactly 170°C (340°F); too cool and you get soggy, greasy chicken, too hot and the outside burns before the inside cooks. Use a thermometer and trust it completely.
- Fry in batches:
- Working with only 3-4 pieces at a time so the oil temperature stays steady, fry for 12-15 minutes until the coating turns deep golden brown. You'll hear the sizzle change over time—it starts aggressive and mellows as the chicken cooks through.
- Finish and rest:
- Drain the finished pieces on a wire rack (better than paper towels because it keeps the bottom from getting steamed), then let everything rest 5 minutes before serving so the carryover heat finishes the cooking and the juices settle.
 Save to Pinterest
 The moment this recipe stopped being 'something I cook' and became 'the chicken everyone asks me to make' was when my neighbor tasted it and asked for the secret—not the ingredients, but what makes mine different from KFC-bucket chicken. I realized then that it wasn't about recreating their exact formula, but about understanding why those specific spices work together, and that understanding stays with you. Now whenever someone brings store-bought fried chicken to a potluck, I smile knowingly because I've already ruined them for anything else.
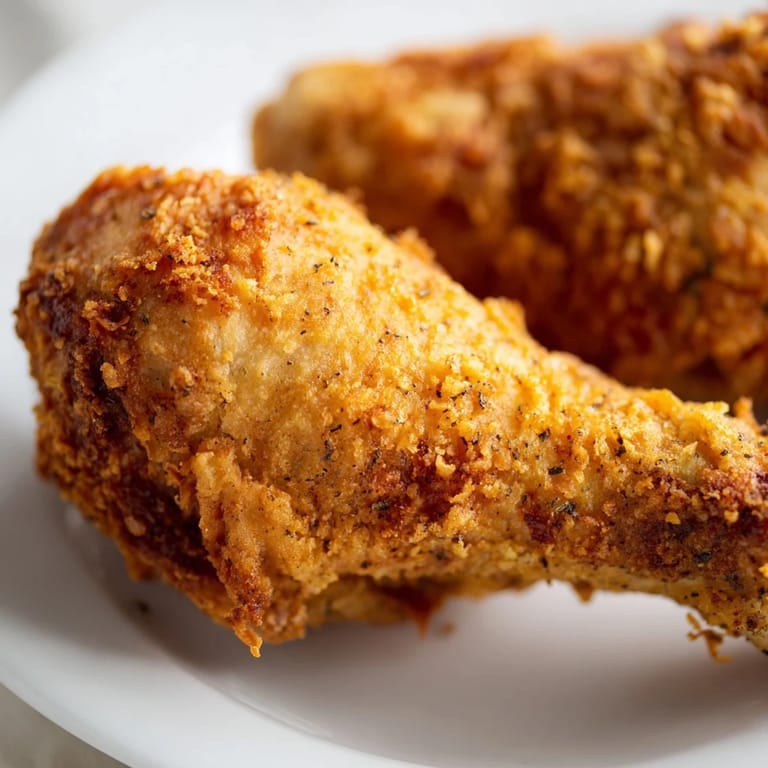
The Double-Dip Secret
After my first few batches, I started experimenting with re-dipping the chicken after the initial flour coat, dipping it back into the buttermilk and then into the flour again. The result was almost absurdly crispy—a thick, shattering crust that stayed intact even after sitting in a container for an hour. It's an extra step that takes maybe two minutes, but it transforms the entire eating experience into something that feels genuinely special rather than just competent.
Oil Temperature and Maintenance
I learned the hard way that oil temperature isn't something to guess about or assume once you're set. I made the mistake of checking it once at the beginning and then trusting it to stay there, only to pull out a batch that was pale and soggy in the middle while the outside looked done. Now I check the thermometer between batches and adjust the heat accordingly, and it's made a visible difference in consistency. The oil also breaks down faster than you'd think, so if you're making this more than once a month, invest in an oil thermometer and replace the oil when it starts smelling stale—that's when the chicken starts picking up those off-flavors.
Customizing Heat and Flavor
The cayenne in this blend is subtle enough that most people don't pick up on spice, but if you're cooking for people who avoid heat entirely, you can drop it to 1/4 teaspoon without losing much flavor. On the flip side, if you're in the mood for something with more kick, doubling it creates a chicken that has a gentle warmth that builds as you eat. I've also experimented with swapping the sage for smoked paprika in equal amounts when I want something a bit different, and it adds an almost barbecue-like depth that works beautifully with coleslaw and sweet tea.
- Start with the original recipe once to understand how all the spices work together before you start improvising.
- Keep notes on what you change and how it tastes so you can recreate your favorite variation next time.
- Remember that every oven and stove runs slightly different, so your oil might need slightly different timing than mine does.
 Save to Pinterest
 This chicken sits somewhere between a weeknight dinner and an occasion worth celebrating—the kind of food that brings people together without any fuss. Once you master this recipe, you'll find yourself making it far more often than you expected because it tastes too good to save for special moments.
Recipe FAQs
- → How does marinating in buttermilk affect the chicken?
Buttermilk tenderizes the chicken and helps the spiced flour adhere better, resulting in a juicier and crispier coating.
- → What is the purpose of the spice blend in the flour?
The blend infuses flavor into the coating, balancing savory, herbal, and spicy notes for a complex taste.
- → Can I make the coating spicier?
Yes, adjusting the amount of cayenne pepper in the seasoned flour allows you to control the heat level.
- → Why rest the coated chicken before frying?
Resting helps the coating adhere firmly and reduces flour shedding during frying, ensuring a crisp crust.
- → Is double-dipping necessary for crispiness?
Double-dipping in buttermilk and flour creates a thicker layer, which increases crunchiness and flavor depth.