 Save to Pinterest
 The first time I froze something just to spin it back into creaminess, I felt like I'd cracked some sort of kitchen code. My Ninja Creami had been sitting on the counter for weeks, and I finally decided to stop making excuses and actually use it. What started as a post-workout snack experiment turned into something I found myself making every few days—a protein-packed ice cream that tastes indulgent but feels genuinely good for you. This bowl became my secret weapon for those moments when I wanted something frozen and satisfying without the guilt.
I remember a friend asking what I was eating when I pulled this out mid-afternoon, and the shock on her face when I told her it was mostly Greek yogurt and protein powder. She expected it to taste like chalk, but instead she got three spoonfuls and was asking for the recipe. That moment made me realize this wasn't just convenient—it was actually delicious enough to convince skeptics.
Ingredients
- Greek yogurt or skyr (1 cup): This is your creamy backbone, and it's packed with protein—way more than regular yogurt, so don't swap it out unless you're going plant-based.
- Unsweetened almond milk (1 cup): It keeps things liquid enough to blend and freeze evenly; if you use something thicker like coconut milk, it'll freeze differently and might need adjusting.
- Protein powder (2 scoops): Vanilla and chocolate are your safest bets, but I've experimented with salted caramel and it held its own—pick something you'd actually eat plain because you'll taste it.
- Maple syrup or sweetener (1–2 tablespoons): Start with one tablespoon and taste before freezing; you can't add sweetness once it's frozen, but you can always blend in more if it's too plain.
- Vanilla extract (1 teaspoon): A small amount goes a long way and keeps the mixture from tasting too protein-powder-ish.
- Salt (pinch): Never skip this—it balances everything and makes the sweetness taste intentional rather than artificial.
Tired of Takeout? 🥡
Get 10 meals you can make faster than delivery arrives. Seriously.
One email. No spam. Unsubscribe anytime.
Instructions
- Blend everything smooth:
- Throw the yogurt, almond milk, protein powder, sweetener, vanilla, and salt into your blender and blend until you don't see any powder streaks. This takes about thirty seconds, and you want it completely smooth or you'll get gritty frozen bits later.
- Pour into your container:
- Transfer the mixture into your Ninja Creami pint or a freezer-safe container, and make sure the top is level—this helps it freeze evenly and gives the machine an easier time spinning.
- Let time do the work:
- Pop it in the freezer for at least eight hours or overnight; I usually prep mine in the evening so it's ready by the next afternoon. Patience here is non-negotiable.
- Spin it into magic:
- Once frozen solid, pop the pint into your Ninja Creami (or follow your machine's instructions) and run it on ice cream mode. The machine will do the heavy lifting, transforming that frozen block into creamy, spoonable ice cream.
- Adjust the texture:
- If it comes out too thick, add a splash of milk and spin again for a softer serve. If you want extra creaminess, hit the re-spin button and watch it transform again.
- Top and serve immediately:
- Scoop into bowls while it's still at that perfect soft-serve consistency, pile on whatever toppings call to you, and eat it right away before it melts.
 Save to Pinterest
 There's something oddly satisfying about watching solid ice transform into creamy perfection in real time. The Ninja Creami does the work, but standing there watching it happen never gets old—it feels like a small kitchen miracle every single time.
Flavor Adventures Worth Trying
The vanilla base is reliable, but once you've made it once, the variations practically write themselves. I've added cocoa powder for a chocolate version, instant espresso powder for a mocha moment, and even blended in frozen berries to the mixture before freezing for a strawberry swirl effect. The beauty of this recipe is that it's forgiving enough to experiment with, so don't be afraid to treat it like your personal ice cream laboratory.
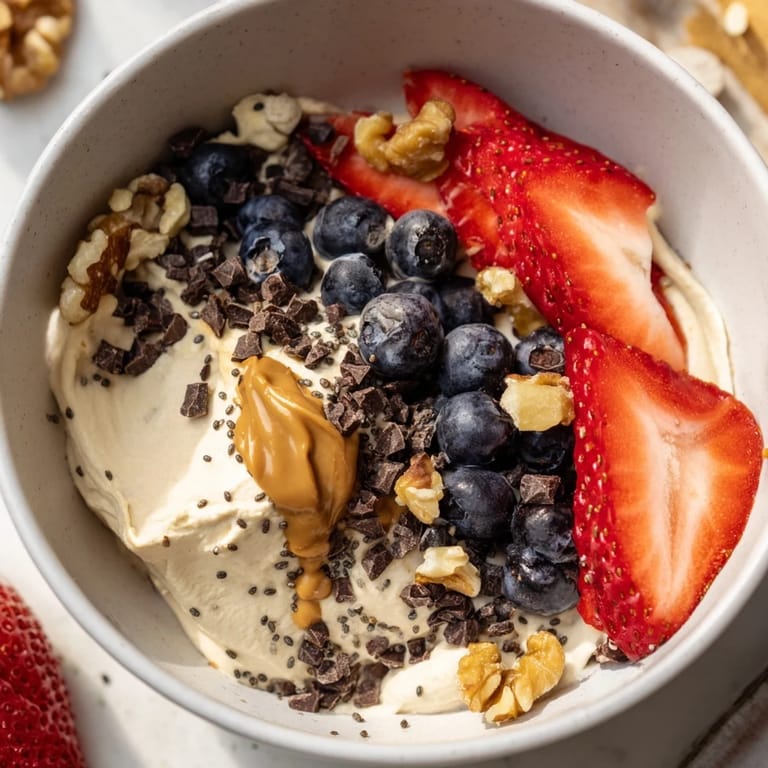
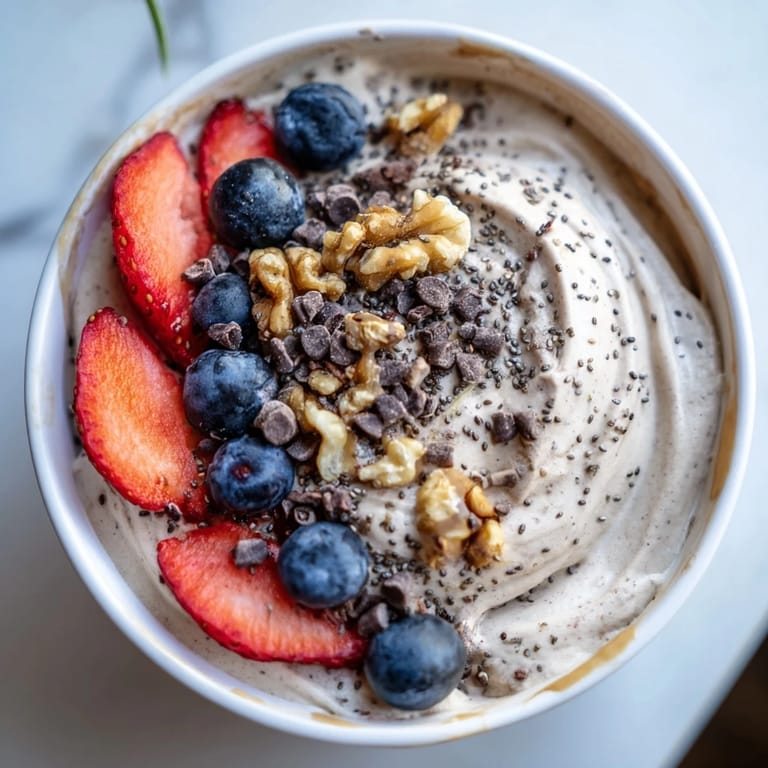
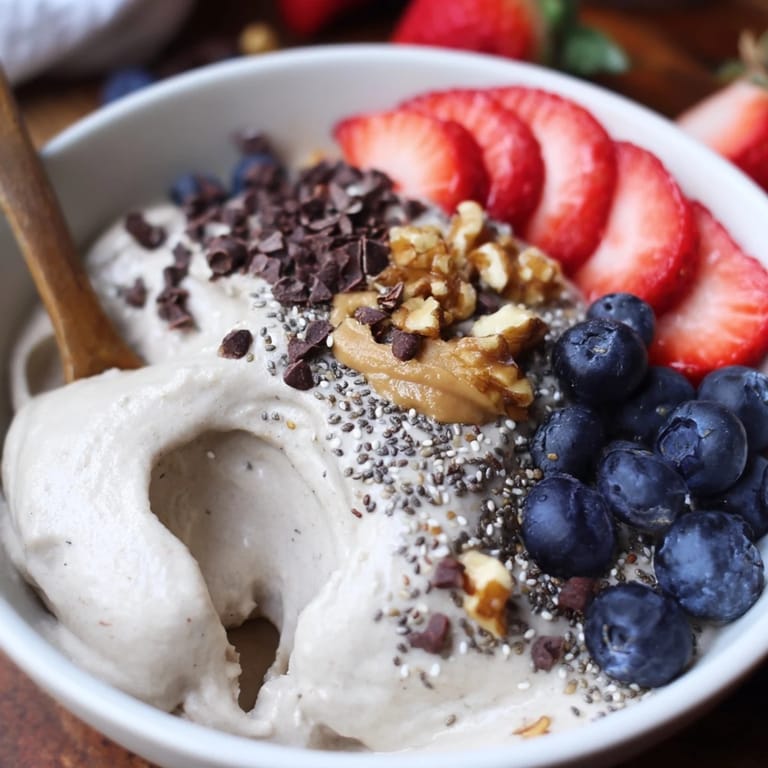
Toppings as the Main Event
Honestly, the toppings are where this bowl gets its personality. Some days I keep it minimal with just berries and a drizzle of peanut butter, and other days I'm piling on chocolate chips, nuts, and seeds like I'm building an Instagram moment. The contrast between the creamy ice cream and crunchy toppings is exactly what makes this feel special enough for dessert but legitimate enough for a post-workout meal.
Making It Your Own
The genius of this recipe is how easily it bends to what you have on hand and what you're craving that day. Skip the almond milk and use coconut or oat milk, swap the protein powder flavor, go vegan with plant-based yogurt—it all works because the core method is solid. This became my go-to because it proved that healthy eating doesn't mean sacrificing the experience of actually enjoying your food.
- If you're vegan, use a thick plant-based yogurt like coconut or soy yogurt and make sure your protein powder is plant-based.
- For a lower-sugar version, use a zero-calorie sweetener and skip the toppings or stick with berries and nuts.
- Prep multiple pints at once so you always have a frozen base ready to spin whenever the craving hits.
 Save to Pinterest
 This bowl taught me that the best healthy recipes are the ones you actually want to make again and again. It's become less of a post-workout obligation and more of a moment I look forward to—proof that eating well can be genuinely delicious.
Recipe FAQs
- → What ingredients create the creamy base?
The base combines Greek yogurt, almond milk, protein powder, maple syrup, vanilla extract, and a pinch of salt, blended smooth before freezing.
- → How long should the mixture be frozen?
Freeze the mixture for at least 8 hours or overnight until completely solid for the best texture.
- → Can I customize the toppings?
Yes, add fresh berries, nut butters, chocolate chips, nuts, or seeds to enhance flavor and texture.
- → Are there options for a vegan variation?
Use plant-based yogurt and vegan protein powder to adapt the bowl to a vegan-friendly version.
- → What tools are needed for preparation?
A blender and a freezer-safe container are essential; using a Ninja Creami or similar ice cream maker can enhance creaminess.
- → Is this suitable for a gluten-free diet?
Yes, it’s gluten-free when all chosen ingredients are certified gluten-free.